


📅 Updated: June 7, 2026 (Originally published: March 27, 2026)
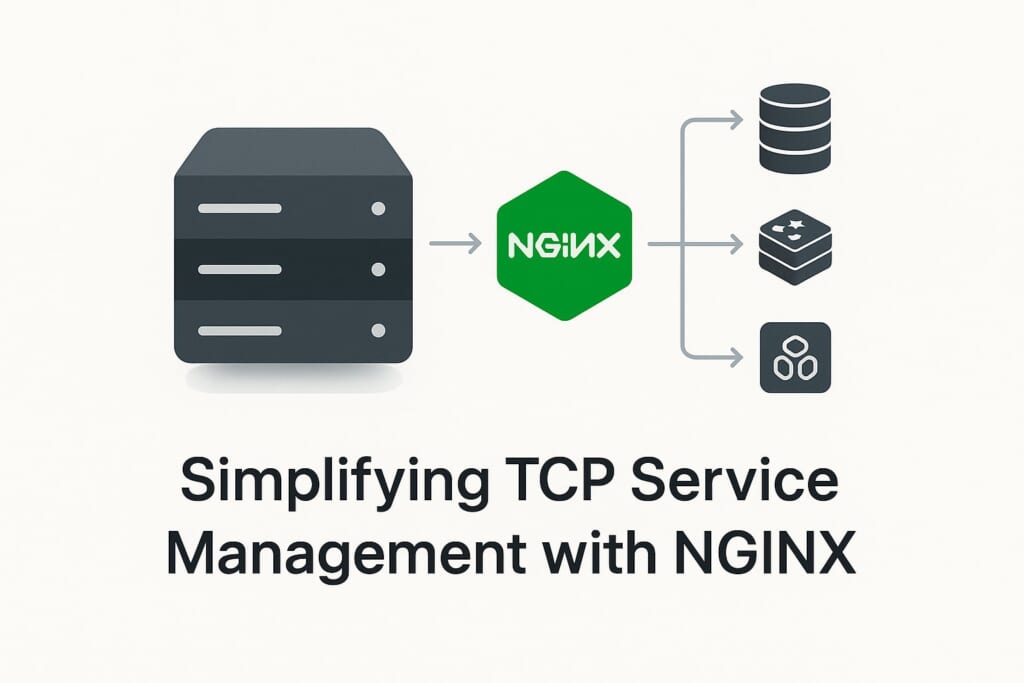
You have a fleet of TCP services — database replicas, Redis nodes, custom RPC servers — sitting behind NGINX as a stream load balancer. Every time you scale up or down, someone has to edit the NGINX configuration, add or remove server lines from the upstream block, and reload the process. Each reload tears down every active TCP connection on that worker, even the ones going to backends that did not change. In a high-traffic environment running thousands of long-lived database connections, a single reload can cascade into a storm of reconnections, query retries, and temporary latency spikes. The NGINX stream upsync module was built specifically to eliminate this pain.
The problem gets worse with auto-scaling. When a container orchestrator spins up five new backend pods in response to a traffic surge, you need those pods load-balanced within seconds — not after a human edits a config file and runs nginx -s reload. And when pods terminate, stale entries in the upstream block mean NGINX keeps sending connections to dead backends until someone cleans up.
NGINX stream upsync solves this by connecting your stream upstream blocks directly to a service discovery backend — Consul or etcd — and synchronizing the server list automatically. When a backend registers or deregisters itself, the NGINX stream upsync module picks up the change within milliseconds and updates the upstream pool in memory. No reload. No dropped connections. No manual intervention.
If you need this functionality for HTTP upstreams rather than TCP/UDP, see the companion HTTP upsync module.
For a simpler REST API-based approach to dynamic upstream management (without external service discovery), see NGINX Dynamic Upstream: Add and Remove Servers Live. You might also find our guide on NGINX load balancing helpful for understanding load balancing fundamentals.
How NGINX Stream Upsync Works
The NGINX stream upsync module operates on a pull-based model with two synchronization mechanisms working together:
Index-based long polling. The module opens a long-hanging HTTP connection to Consul or etcd, specifying the last known modification index. The connection blocks until the upstream data changes (up to a configurable timeout, defaulting to 6 minutes). When a change occurs, Consul or etcd responds immediately with the updated server list. This gives you near-instant propagation of changes — typically under one second.
Periodic polling as a safety net. In addition to long polling, the module polls the service discovery backend at a configurable interval (default: every 5 seconds). This ensures that any missed updates — due to network glitches or dropped connections — are caught promptly.
Dump file persistence. After every successful synchronization, the module writes the current server list to a local file. If Consul or etcd is unavailable when NGINX starts, it falls back to this dump file, ensuring NGINX can always start with a known-good server list.
The combination of these three mechanisms gives you timely updates, resilience against service discovery outages, and zero-downtime backend management for all your TCP/UDP workloads.
Installation
RHEL, CentOS, AlmaLinux, Rocky Linux
sudo dnf install https://extras.getpagespeed.com/release-latest.rpm
sudo dnf install nginx-module-stream-upsync
After installation, load the module by adding the following line at the top of /etc/nginx/nginx.conf, before any stream {} block:
load_module modules/ngx_stream_upsync_module.so;
Alternatively, if your NGINX configuration includes /usr/share/nginx/modules/*.conf (which is the default), the module loads automatically and no manual load_module directive is needed.
For more details and available versions, see the RPM module page.
Debian and Ubuntu
First, set up the GetPageSpeed APT repository, then install:
sudo apt-get update
sudo apt-get install nginx-module-stream-upsync
On Debian/Ubuntu, the package handles module loading automatically. No
load_moduledirective is needed.
For more details, see the APT module page.
Configuration
The NGINX stream upsync module provides four directives. All upsync-related directives are placed inside upstream {} blocks within the stream {} context, except for upstream_show which goes in a server {} block.
The upsync Directive
Syntax: upsync <address>/<path> upsync_type=<type> [upsync_interval=<time>] [upsync_timeout=<time>] [strong_dependency=on|off]
Context: upstream (inside stream {})
This is the core directive that connects an upstream block to a service discovery backend. It accepts one required argument — the address and API path of your Consul or etcd endpoint — followed by key-value parameters:
| Parameter | Default | Description |
|---|---|---|
upsync_type |
(required) | Service discovery backend type: consul, consul_services, or etcd |
upsync_interval |
5s |
How often to poll for changes as a fallback safety net |
upsync_timeout |
6m |
Timeout for long-polling connections |
strong_dependency |
off |
When on, NGINX refuses to start if it cannot reach the service discovery backend |
Consul key/value example:
stream {
    upstream my_tcp_backend {
        upsync 127.0.0.1:8500/v1/kv/upstreams/my_tcp_backend/
            upsync_type=consul
            upsync_interval=500ms
            upsync_timeout=6m
            strong_dependency=on;
        upsync_dump_path /etc/nginx/servers/my_tcp_backend.conf;

        include /etc/nginx/servers/my_tcp_backend.conf;
    }

    server {
        listen 3306;
        proxy_pass my_tcp_backend;
    }
}
Consul service catalog example:
stream {
    upstream my_service {
        upsync 127.0.0.1:8500/v1/health/service/my-service
            upsync_type=consul_services
            upsync_interval=5s
            upsync_timeout=6m;
        upsync_dump_path /etc/nginx/servers/my_service.conf;

        include /etc/nginx/servers/my_service.conf;
    }

    server {
        listen 5432;
        proxy_pass my_service;
    }
}
etcd example:
stream {
    upstream my_backend {
        upsync 127.0.0.1:2379/v2/keys/upstreams/my_backend
            upsync_type=etcd
            upsync_interval=5s
            upsync_timeout=6m;
        upsync_dump_path /etc/nginx/servers/my_backend.conf;

        include /etc/nginx/servers/my_backend.conf;
    }

    server {
        listen 6379;
        proxy_pass my_backend;
    }
}
The upsync_dump_path Directive
Syntax: upsync_dump_path <path>
Default: /tmp/servers_$host.conf
Context: upstream (inside stream {})
Specifies the file path where the module persists the current server list after each synchronization. This dump file serves two critical purposes:
- Startup fallback. The
includedirective inside the upstream block reads this file at startup, so NGINX can start even if Consul or etcd is temporarily unavailable. - Crash recovery. If NGINX restarts unexpectedly, it recovers the last known server list from this file.
Always create the dump directory before starting NGINX:
sudo mkdir -p /etc/nginx/servers
You must also seed the dump file with at least one server entry before the first start, because NGINX requires at least one server in each upstream block:
echo "server 127.0.0.1:8080 weight=1 max_fails=2 fail_timeout=10s;" > /etc/nginx/servers/my_tcp_backend.conf
The upsync_lb Directive
Syntax: upsync_lb <method>
Default: round-robin
Context: upstream (inside stream {})
Declares the load-balancing algorithm for the dynamically managed upstream. Supported methods:
| Method | Description |
|---|---|
roundrobin |
Distributes requests evenly across backends (default) |
ip_hash |
Routes connections from the same client IP to the same backend |
least_conn |
Sends new connections to the backend with the fewest active connections |
hash_modula |
Consistent hashing using modula algorithm |
hash_ketama |
Consistent hashing using the ketama algorithm (recommended for caching) |
Example with least connections:
upstream my_tcp_backend {
    upsync 127.0.0.1:8500/v1/kv/upstreams/my_tcp_backend/
        upsync_type=consul
        upsync_interval=500ms;
    upsync_dump_path /etc/nginx/servers/my_tcp_backend.conf;
    upsync_lb least_conn;

    include /etc/nginx/servers/my_tcp_backend.conf;
}
The upstream_show Directive
Syntax: upstream_show
Context: server (inside stream {})
Enables a monitoring endpoint that returns an HTTP response listing all stream upstreams and their current backends. Despite being in a stream {} server block, the response is formatted as HTTP so you can query it with curl.
stream {
    # ... upstream blocks ...

    server {
        listen 8088;
        upstream_show;
    }
}
Query it:
curl http://127.0.0.1:8088
Sample output:
Upstream name: my_tcp_backend; Backend server count: 2
        server 127.0.0.1:8081 weight=1 max_fails=2 fail_timeout=10s;
        server 127.0.0.1:8080 weight=1 max_fails=2 fail_timeout=10s;
This endpoint is invaluable for monitoring and debugging your dynamic NGINX stream upsync upstreams.
Managing Backends via Consul
Adding a Backend
Register a backend server by creating a key in Consul’s KV store. The key path must match the path in your upsync directive, with the server address as the final key component:
curl -X PUT -d '{"weight":1, "max_fails":2, "fail_timeout":10}'
    http://127.0.0.1:8500/v1/kv/upstreams/my_tcp_backend/192.168.1.10:3306
The JSON value supports these attributes:
| Attribute | Default | Description |
|---|---|---|
weight |
1 |
Load-balancing weight (higher = more connections) |
max_fails |
2 |
Number of failed attempts before marking server as down |
fail_timeout |
10 |
Seconds to wait before retrying a failed server |
down |
0 |
Set to 1 to mark server as temporarily unavailable |
backup |
0 |
Set to 1 to mark as backup (used only when all primary servers are down) |
Updating a Backend
To change a backend’s attributes (for example, increasing its weight), simply PUT a new value to the same key:
curl -X PUT -d '{"weight":5, "max_fails":3, "fail_timeout":30}'
    http://127.0.0.1:8500/v1/kv/upstreams/my_tcp_backend/192.168.1.10:3306
Removing a Backend
Delete the key to remove a backend from the upstream pool:
curl -X DELETE http://127.0.0.1:8500/v1/kv/upstreams/my_tcp_backend/192.168.1.10:3306
Temporarily Disabling a Backend
Mark a backend as down without removing it entirely:
curl -X PUT -d '{"weight":1, "max_fails":2, "fail_timeout":10, "down":1}'
    http://127.0.0.1:8500/v1/kv/upstreams/my_tcp_backend/192.168.1.10:3306
Managing Backends via etcd
The etcd workflow is similar, but uses etcd’s v2 API:
# Add a backend
curl -X PUT -d value='{"weight":1, "max_fails":2, "fail_timeout":10}'
    http://127.0.0.1:2379/v2/keys/upstreams/my_backend/192.168.1.10:6379

# Remove a backend
curl -X DELETE http://127.0.0.1:2379/v2/keys/upstreams/my_backend/192.168.1.10:6379
Note that the NGINX stream upsync module uses etcd v2 API, not v3. If you are running etcd v3, ensure the v2 API compatibility layer is enabled.
Testing Your Configuration
After setting up the NGINX stream upsync module, verify the configuration and test the dynamic behavior:
Step 1: Validate NGINX configuration.
sudo nginx -t
Step 2: Start or reload NGINX.
sudo systemctl reload nginx
Step 3: Check the upstream_show endpoint.
curl http://127.0.0.1:8088
Verify that all registered backends appear in the output.
Step 4: Add a backend dynamically and verify.
# Register a new backend
curl -X PUT -d '{"weight":1, "max_fails":2, "fail_timeout":10}'
    http://127.0.0.1:8500/v1/kv/upstreams/my_tcp_backend/10.0.0.5:3306

# Wait a moment for synchronization
sleep 2

# Verify it appears
curl http://127.0.0.1:8088
Step 5: Check the dump file.
cat /etc/nginx/servers/my_tcp_backend.conf
The file should reflect the current state of your upstream pool, including the newly added backend.
Complete Working Example
Here is a full NGINX configuration that proxies MySQL connections through a dynamically managed upstream pool, with Consul as the service discovery backend:
stream {
    upstream mysql_pool {
        upsync 127.0.0.1:8500/v1/kv/upstreams/mysql_pool/
            upsync_type=consul
            upsync_interval=500ms
            upsync_timeout=6m
            strong_dependency=on;
        upsync_dump_path /etc/nginx/servers/mysql_pool.conf;
        upsync_lb least_conn;

        include /etc/nginx/servers/mysql_pool.conf;
    }

    server {
        listen 3306;
        proxy_pass mysql_pool;
        proxy_connect_timeout 5s;
        proxy_timeout 300s;
    }

    server {
        listen 8088;
        upstream_show;
    }
}
Register your MySQL replicas in Consul:
curl -X PUT -d '{"weight":1, "max_fails":3, "fail_timeout":30}'
    http://127.0.0.1:8500/v1/kv/upstreams/mysql_pool/10.0.1.10:3306

curl -X PUT -d '{"weight":1, "max_fails":3, "fail_timeout":30}'
    http://127.0.0.1:8500/v1/kv/upstreams/mysql_pool/10.0.1.11:3306
Performance Considerations
The NGINX stream upsync module is designed for minimal performance impact in production:
- No NGINX reloads. Backend changes are applied in-memory by the worker processes without any process restarts or configuration reloads. Existing connections are never interrupted.
- Efficient polling. Long-polling means the module holds idle HTTP connections to Consul or etcd, consuming negligible CPU. Only actual changes trigger processing.
- Shared memory synchronization. The module uses shared memory and mutexes to coordinate upstream updates across worker processes, which ensures thread safety with minimal lock contention.
- Randomized initial timers. On startup, each upstream’s polling timer starts with a random offset to avoid thundering-herd effects when multiple upstreams poll the same Consul or etcd cluster.
However, keep these factors in mind:
- Consul or etcd availability. If your service discovery backend becomes unreachable, the module falls back to the last known state (from the dump file). Use
strong_dependency=ononly if you want NGINX to refuse to start without service discovery — in most production deployments,strong_dependency=off(the default) is safer because it allows NGINX to start with the dump file as a fallback. - Synchronization interval. Setting
upsync_intervaltoo low (for example,100ms) increases load on your Consul or etcd cluster. For most use cases,500msto5sprovides a good balance between responsiveness and resource usage.
Security Best Practices
The NGINX stream upsync module communicates with Consul or etcd over plain HTTP by default. In production, take these precautions:
- Restrict access to the
upstream_showendpoint. Bind the monitoring server to a management IP address or localhost rather than a public interface, since it exposes internal backend addresses:
server {
    listen 127.0.0.1:8088;
    upstream_show;
}
- Secure Consul and etcd. Use ACLs in Consul and authentication in etcd to prevent unauthorized modification of your upstream server lists. A compromised KV store could redirect traffic to malicious backends.
- Use firewall rules. Restrict access to the Consul or etcd API ports (8500 and 2379 respectively) to only the NGINX hosts that need them. You can use firewalld for managing these rules on RHEL-based systems.
- Protect the dump file directory. Ensure that
/etc/nginx/servers/is owned by root and writable only by the NGINX master process. A tampered dump file could inject malicious backends on the next NGINX restart.
Troubleshooting
NGINX refuses to start: “no servers are inside upstream”
The dump file referenced by include inside the upstream block is either empty or missing. Seed it with at least one valid server entry:
echo "server 127.0.0.1:8080 weight=1 max_fails=2 fail_timeout=10s;"
    > /etc/nginx/servers/my_tcp_backend.conf
Backends not updating after Consul changes
Check the NGINX error log for connection errors to Consul:
tail -f /var/log/nginx/error.log | grep upsync
Common causes:
– Consul is not running or not reachable from the NGINX host.
– The KV path in the upsync directive does not match the path used when registering backends. Make sure the trailing slash is present for Consul KV paths.
– Firewall rules blocking port 8500.
Module already loaded error
If you see module "ngx_stream_upsync_module" is already loaded, you likely have both a manual load_module directive and the auto-include in /usr/share/nginx/modules/*.conf. Remove the manual load_module line from your nginx.conf.
upstream_show returns empty response
Ensure the upstream_show directive is in a separate server {} block within the stream {} context. It must be the only content handler in that server block — do not combine it with proxy_pass.
Conclusion
The NGINX stream upsync module brings dynamic service discovery to your TCP and UDP workloads, eliminating the need for configuration reloads when backends change. Whether you are load-balancing MySQL replicas, Redis clusters, or custom TCP services, integrating with Consul or etcd through NGINX stream upsync keeps your infrastructure responsive and your connections uninterrupted.
For the source code and issue tracker, visit the nginx-stream-upsync-module GitHub repository.
Upstream config moves faster than security review. Continuous scanning catches the lag between an upstream change and the next manual audit. GetPageSpeed Amplify runs scheduled gixy scans across every host and ties findings to live NGINX runtime metrics. Drop-in compatible with the deprecated nginx-amplify-agent (EOL January 2026).